As a photographer I’m often inspired by other artists work — I question why I am drawn to an individual image, and then I analyse that element and try to incorporate this into my own work. I am very conscience of copying work by other artists so I ask myself, what am I attracted to? Was it the model? The mood? The makeup? The pose? The emotion? The lighting? What drew me to this image in the first place and how could I take one of these elements and take inspiration from it.
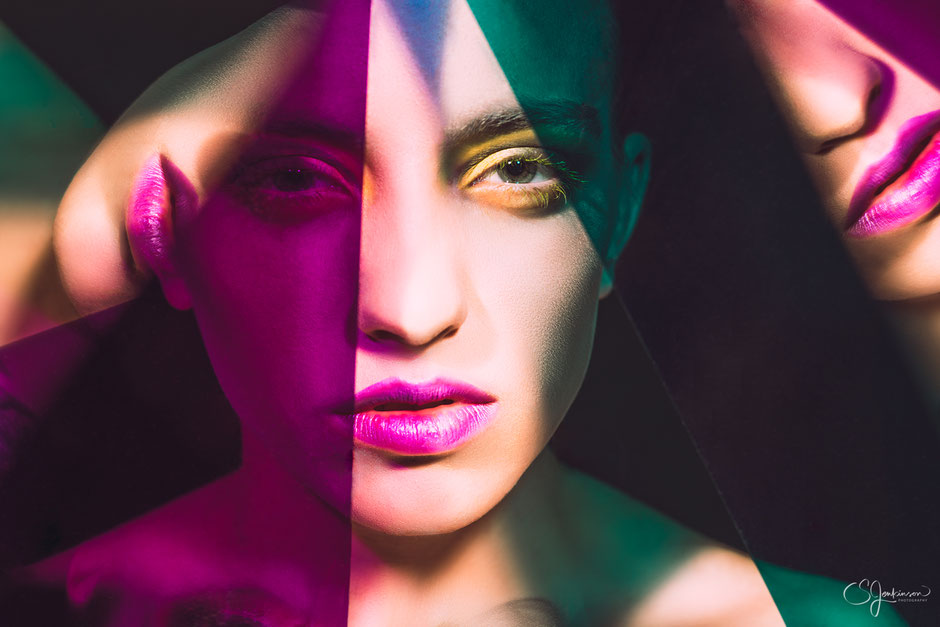
For this shoot I came across a photograph of a model with rich Purple/Green gels which had been applied to the front of the models face. I decided to channel this idea into my own work but with a whole new twist on it.
I wanted to keep some of the colours and use the gels in the same way but concentrate on lighting the overall image slightly differently.
For the hair I knew I needed this to be slicked back as it was not the main focus of the shoot.
MAKEUP:
I instructed my makeup artist (Declen Scammell) to provide me with a smokey eye with a heavy splash of yellow, contoured cheeks, and a nice bold purple lip to add contrast, I also knew these colors would work well with the colored gels we used.
POSE:
I rarely pre plan posing the model for a shoot as I like to see what inspires me on the fly. I try giving the model expression through conversation during the shoot and encouragement when everything is going right. I find it most helpful to the model and myself by tethering my camera to my Macbook Pro Laptop through the Capture One software. This software allows each shot from my camera to appear right in front of me and my model so we can both see what is working and what is not.

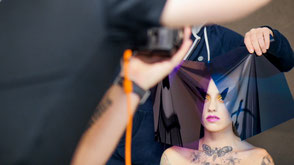

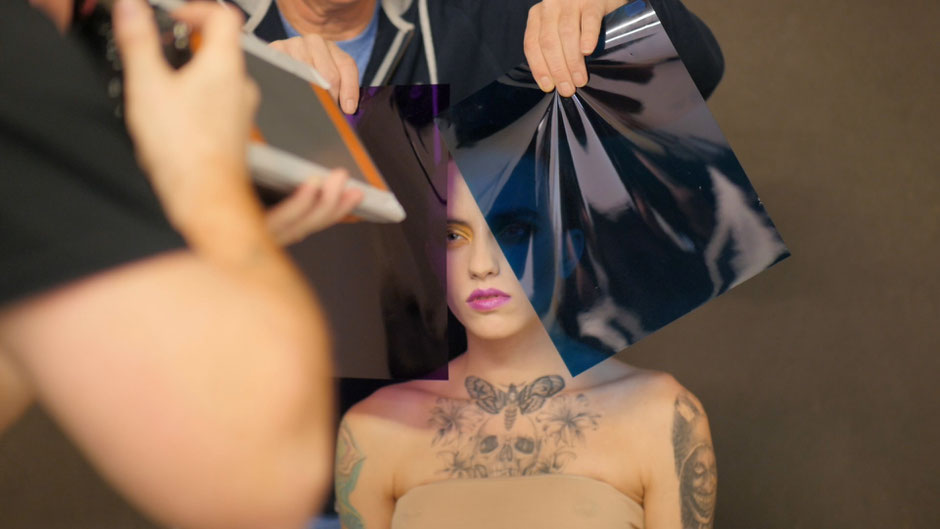
BEHIND THE SCENES:
CREATIVE TEAM:
Hair and Makeup: Declan Scammell https://www.declanscammell.com
Model: Dana Poplavska https://www.dana-ben.com
1st Assistant: Andrew Lacey
LIGHTING:
I used two strobes for this easy lighting set up. Lets take a look at the positions of the lights in the following
diagram.
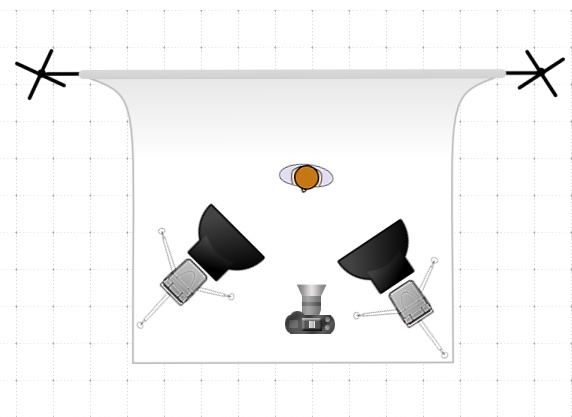
The strobe on the right was a Pixapro Citi 600 Manual flash with a reflector dish and 10 degree grid.
The light on the left was a Pixapro Pika 200 TTL flash with a reflector dish and 10 degree grid.
KALEIDASCOPE:
For the triple image effect I used three pieces of glass mirror cut to size 15cm x 35cm and
taped them together with the mirror on the inside. I then took my Sony 9omm 2.8 G-Master Macro lens and took the shot through the middle of the glass mirror and focused on the model. By twisting
the mirror around you can achieve multiple kaleidoscope effects.
GEAR:
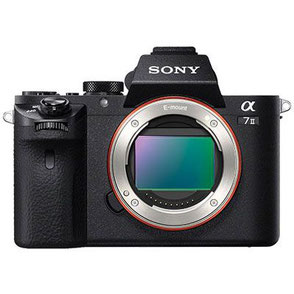
Sony A7 Mk ii
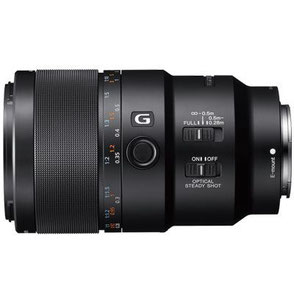
Sony 90mm 2.8 Macro

Macbook Pro Laptop

Tether Capture Software
Coloured Gels pack
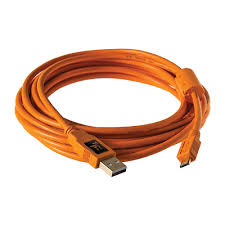
Tether Tools Sony Cable
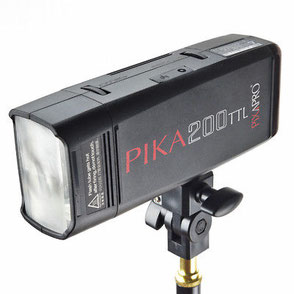
Pixapro Pika 200
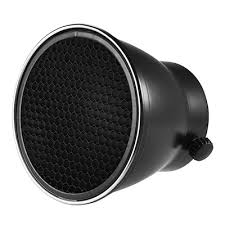
Pixapro Reflector Dish + Grid
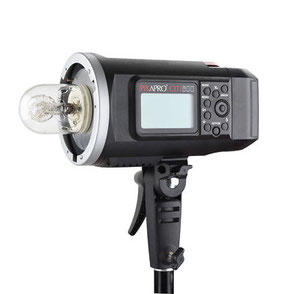
Pixapro Cit 600 Manual Falsh

I hope you enjoyed this “How I Got the Shot”, stay tuned for the next one!
Write a comment